Step-by-Step Guide to Configure LACP Between MikroTik Router and BDCOM OLT | Bangla

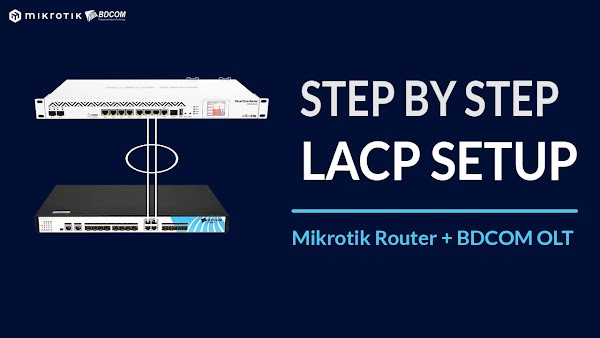
🔹 LACP Configuration Between MikroTik Router and BDCOM OLT

ISP networks-এ redundancy এবং high throughput খুবই গুরুত্বপূর্ণ। LACP (Link Aggregation Control Protocol) configure করলে, multiple uplinks এক logical link-এ combine করা যায়। ফলে load balancing এবং automatic failover পাওয়া যায়।

LACP দিয়ে দুই বা ততোধিক Ethernet link combine করা যায়। যদি এক link fail হয়, অন্য link চলতে থাকে। ISPs-এর জন্য এটা খুবই উপকারী।


Step 1: MikroTik LACP (Bonding) Configuration

MikroTik router-এ লগিন করুন এবং bonding interface তৈরি করুন:

/interface/bonding
add name=LACP-OLT slaves=ether1,ether3 mode=802.3ad transmit-hash-policy=layer-2-and-3 disabled=no
  • ether1ether3 physical ports।
  • এই দুই port এক logical link হিসেবে কাজ করবে।
  • Bandwidth = 1G + 1G = 2Gbps (if both active)।

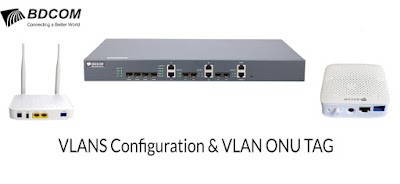
VLAN Creation on MikroTik

MikroTik router-এ LACP bonding interface-এ VLAN তৈরি করুন:

/interface/vlan
add interface=LACP-OLT name=OLT-MGT vlan-id=100
add interface=LACP-OLT name=EPON-1 vlan-id=101
add interface=LACP-OLT name=EPON-2 vlan-id=102
add interface=LACP-OLT name=EPON-3 vlan-id=103
add interface=LACP-OLT name=EPON-4 vlan-id=104
  • VLAN 100 = OLT Management
  • VLAN 101–104 = EPON Port services

IP Address for Management

/ip address
add address=10.200.201.5/30 interface=OLT-MGT disable=no

Step 2: BDCOM OLT LACP Configuration

1️⃣ Create Port Aggregator:

Switch> enable
Switch# config
Switch_config# interface Port-aggregator1
Switch_config_p1# switchport mode trunk
Switch_config_p1# switchport trunk vlan-allowed 100-104
Switch_config_p1# no shutdown
Switch_config_p1# exit

2️⃣ Configure Uplink Ports:

G0/1:

Switch_config# interface gigaEthernet 0/1
Switch_config_g0/1# switchport mode trunk
Switch_config_g0/1# switchport trunk vlan-allowed 100-104
Switch_config_g0/1# no shutdown
Switch_config_g0/1# aggregator-group 1 mode lacp
Switch_config_g0/1# exit

G0/2:

Switch_config# interface gigaEthernet 0/2
Switch_config_g0/2# switchport mode trunk
Switch_config_g0/2# switchport trunk vlan-allowed 100-104
Switch_config_g0/2# no shutdown
Swit
ch_config_g0/2# aggregator-group 1 mode lacp
Switch_config_g0/2# exit

Port-aggregator1 = logical LACP interface, যেখানে physical uplinks aggregate করা হয়েছে।


IP Address for OLT Management VLAN

Switch_config# interface VLAN 100
Switch_config_v100# ip address 10.200.201.6 255.255.255.252
Switch_config_v100# exit
Switch_config# ip route 10.200.201.5

EPON Port Configuration

PON-1:

Switch_config# interface epon 0/1
Switch_config_epon0/1# switchport mode access
Switch_config_epon0/1# switchport pvid 101
Switch_config_epon0/1# exit

PON-2:

Switch_config# interface epon 0/2
Switch_config_epon0/2# switchport mode access
Switch_config_epon0/2# switchport pvid 102
Switch_config_epon0/2# exit

PON-3:

Switch_config# interface epon 0/3
Switch_config_epon0/3# switchport mode access
Switch_config_epon0/3# switchport pvid 103
Switch_config_epon0/3# exit

PON-4:

Switch_config# interface epon 0/4
Switch_config_epon0/4# switchport mode access
Switch_config_epon0/4# switchport pvid 104
Switch_config_epon0/4# exit

Save Configuration

Switch_config# write all

Step 3: Verify LACP Status

MikroTik:

/interface bonding monitor LACP-OLT
  • দেখবেন উভয় port “active”।

BDCOM OLT:

show interface port-aggregator 1
  • নিশ্চিত করবে দুই uplinks channel-group-এ আছে।


Step 4: Testing

  • একটি uplink disconnect করুন, internet কাজ করছে কি দেখুন।
  • Bandwidth test চালান এবং load balancing চেক করুন।
  • VLAN/PPPoE sessions bond interface দিয়ে যাচ্ছে কি দেখুন।

Why LACP is Important for ISPs

  • LACP ছাড়া, uplinks আলাদা আলাদা কাজ করে। একটি fail হলে connectivity চলে যায়।
  • LACP থাকলে traffic automatically active link-এ shift হয়।
  • Bandwidth বৃদ্ধি পায় এবং downtime কমে।

Conclusion

  • এই guide অনুসরণ করলে সহজে MikroTik এবং BDCOM OLT-এর মধ্যে LACP configure করা যাবে।
  • Redundancy, bandwidth utilization, এবং network stability নিশ্চিত করা যাবে।

Related Post